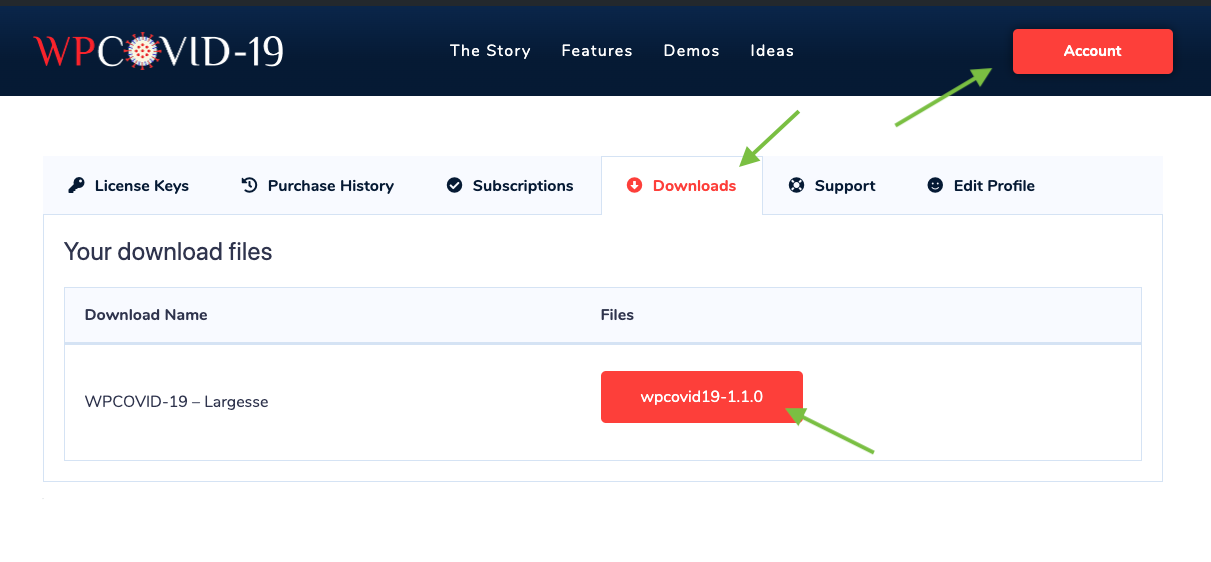
Before proceeding to the installation instructions, you will need to download the ZIP file with the WPCOVID-19 Plugin from the members area on our website:
NoteSome browsers (eg. Safari) auto extract zip files automatically. Right click on the download link and select “Save Linked File As” will allow you to download as a zip file.
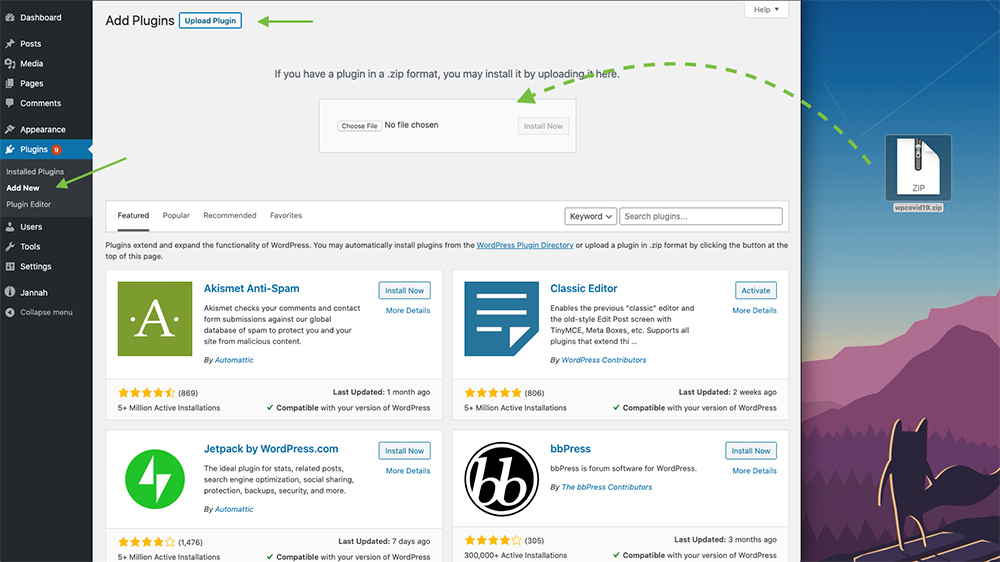
Navigate to your WordPress Dashboard (wp-admin) and open Plugins → Add New section
Click on the Add New button from the top
Click on the Upload button
Browse for .zip file with plugin on your computer, and Install it
Activate plugin
2. Activate your License Key
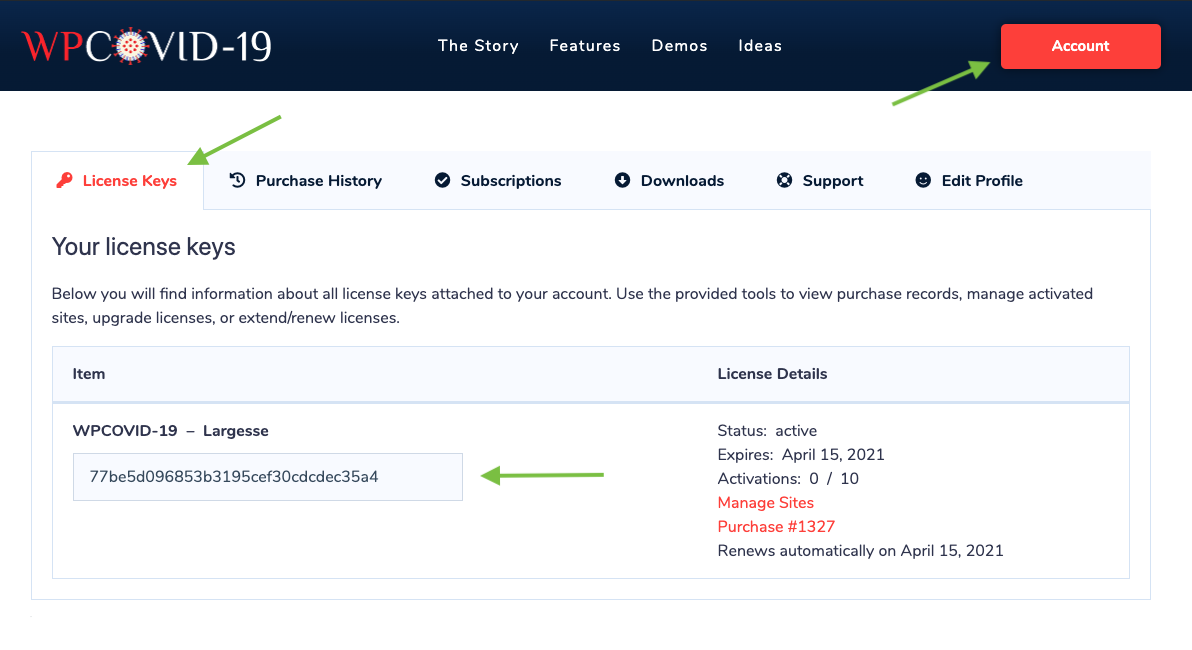
After installing and activating the plugin, we recommend you to activate your license key to get updates in the future.
You can find and copy your license key on this page.
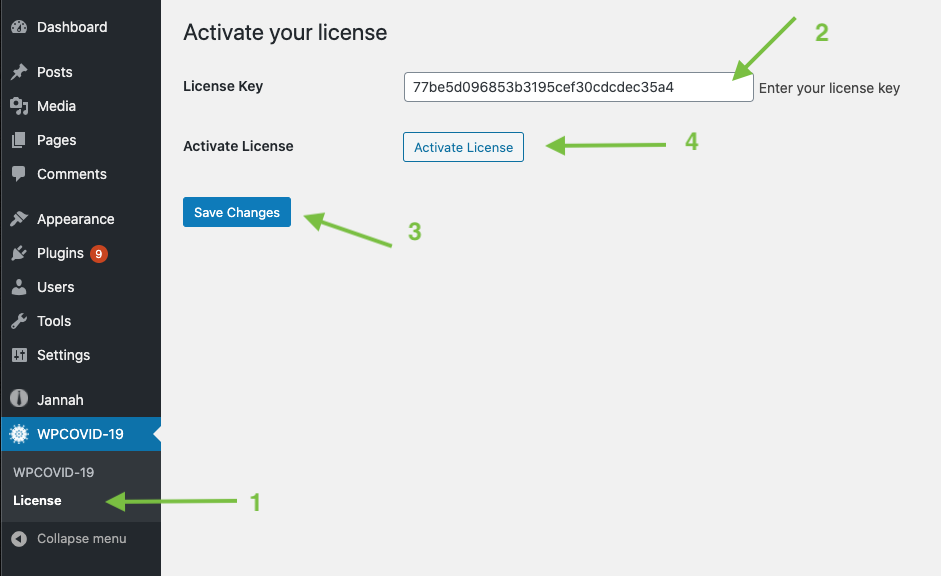
Navigate to your WordPress Dashboard (wp-admin) and open WPCOVID-19 → License page
Enter your license key in the License Key input field.
Click on the Save Changes button
Click on the Activate License button to get the green active status.
NoteAfter saving the license key in the settings page, make sure to click on the Activate License button to get the green active status.
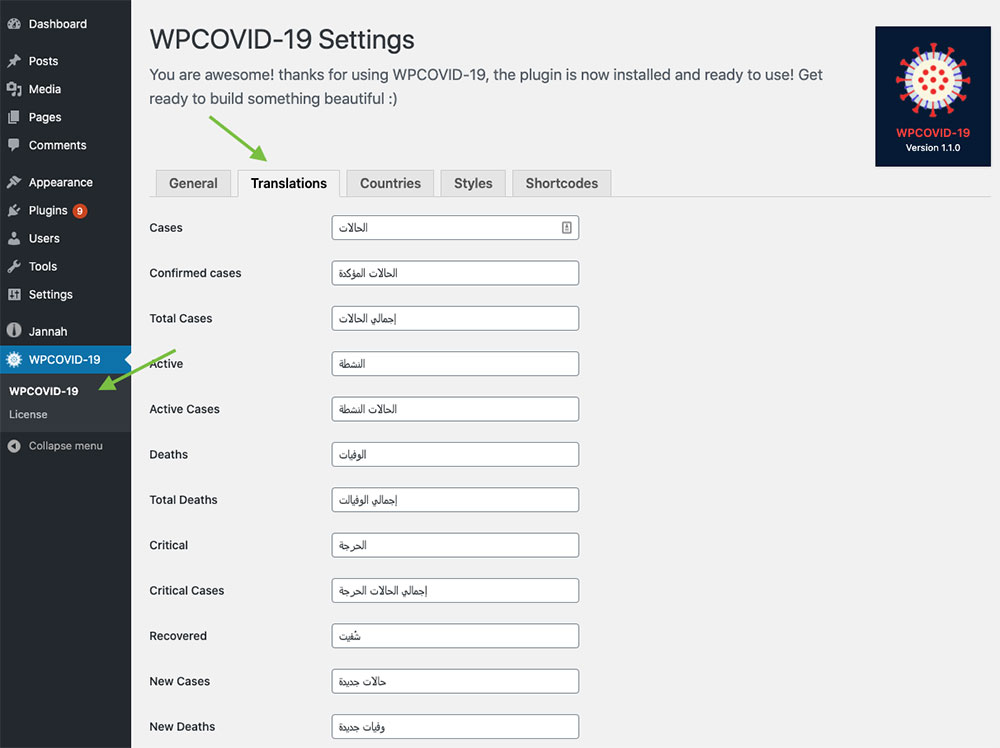
3. Translate
You can translate any text appears in the front-end easily using the plugin built-in translations panel, just Navigate to your WordPress Dashboard (wp-admin) and open WPCOVID-19 → Translations tab.
You can translate country names from the Countries tab.
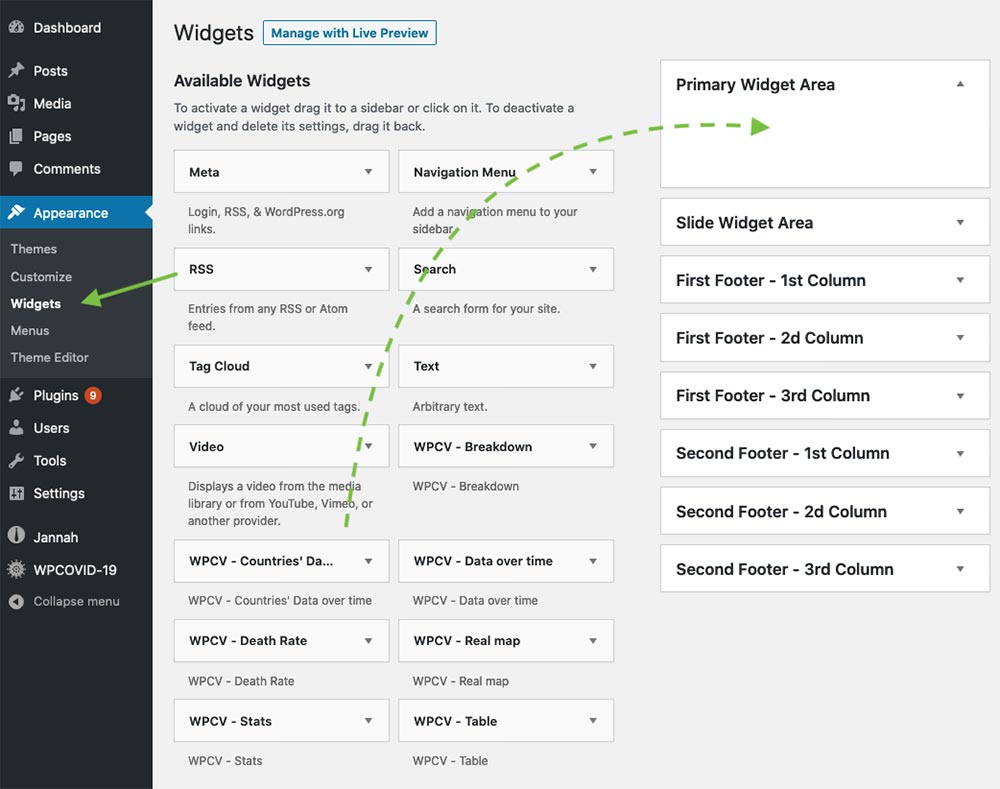
4. Widgets
WPCOVID-19 plugin adds a collection of widgets to your WordPress installation, they can be in inserted into any theme widget area at Appearance → Widgets
4. Shortcodes
Navigate to your WordPress Dashboard (wp-admin) and open Appearance → Widgets
Drag the widget you want to use into the “WPCV – Widgets for Shortcodes” sidebar.
Copy the widget shortcode located at the end of the widget options.